Ultimate DIY Engine Oil Change Checklist for Vehicle Maintenance
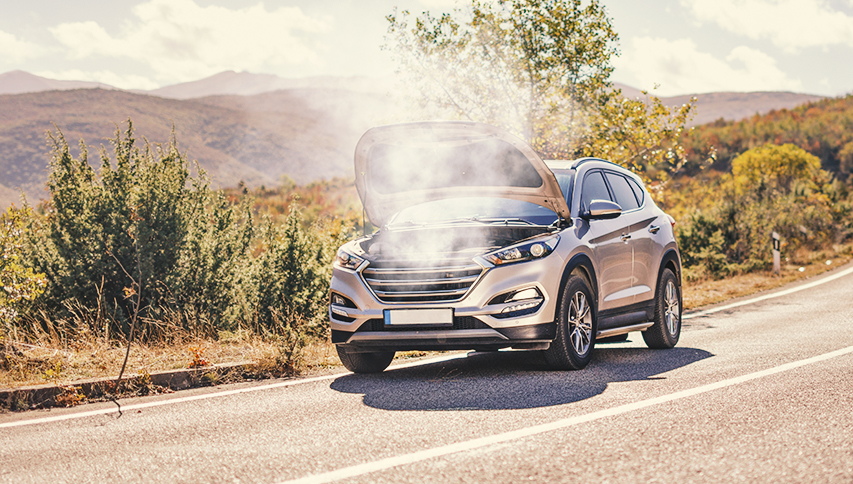
Regular oil changes are the lifeblood of your vehicle’s health. Fresh oil reduces friction between moving parts, keeps the engine clean by trapping contaminants, and regulates temperature by absorbing heat. You can get the oil change done at a garage by a trained mechanic, but the best thing about engine oil is that you can change it yourself and save yourself a trip to the mechanic. Of course, while performing your own oil change can be a rewarding and cost-saving experience, it also requires the right preparation and execution. So at the end of the day, if you’re performing an oil change, you’d best keep yourself informed on the best way to do it.
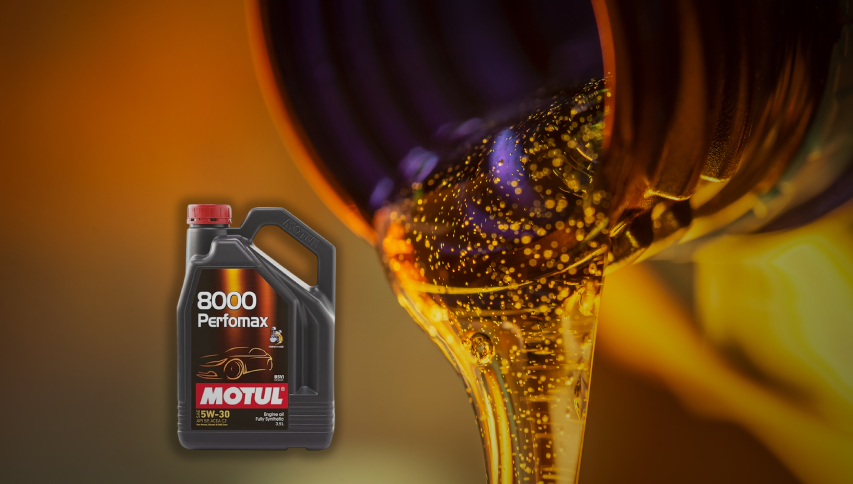
To begin with, choose the right engine oil for your vehicle
Different vehicles have different engines and by extension, can take different types of engine oil. For clarity, your vehicle’s owner’s manual is the ultimate authority here. It will specify the recommended oil viscosity and API rating. Viscosity refers to the oil’s thickness and its ability to flow at different temperatures. Imagine honey versus syrup – honey flows more easily at room temperature (low viscosity), while syrup remains thick and sluggish (high viscosity). A 5W-30 engine oil, for instance, is thinner at cold temperatures (5W), allowing it to circulate quickly and reduce wear during startup. At operating temperatures (30), the oil thickens up to provide proper lubrication. The API rating specifies the oil’s performance characteristics for modern gasoline engines. Common ratings include SN and SM, formulated to handle the demands of emissions control systems and longer oil change intervals. Consulting your manual ensures you select oil that provides optimal protection for your specific engine under various driving conditions.
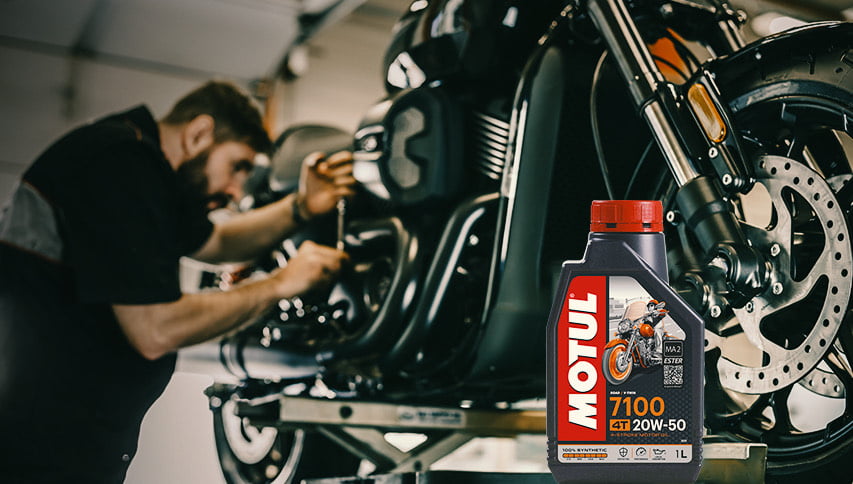
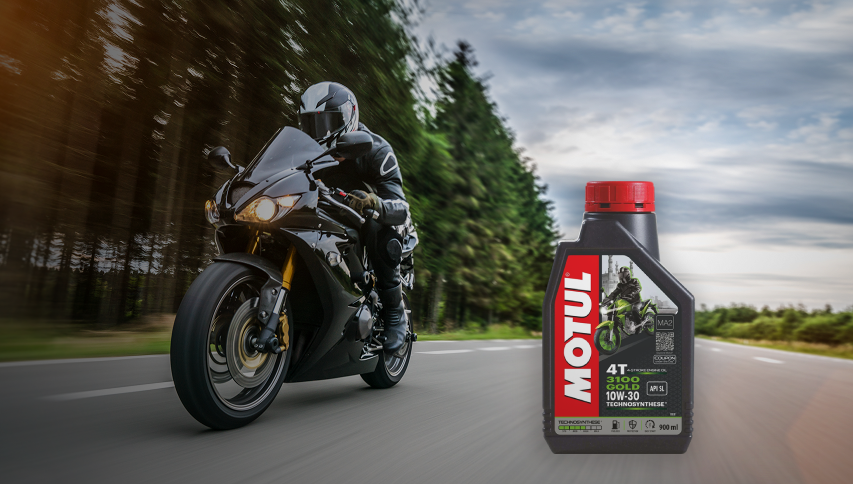
Engine Oil Change Checklist for Bikers
Performing an oil change on a bike is noticeably simpler than on a car, but still requires care and attention to detail. Just make sure you have the best engine oil for your bike, based on the user manual as suggested above. Don’t overthink about engine oil prices. Consider it an investment in your bike’s long-term health. And if you own a scooter, don’t worry. The process is the same for scooter engine oil.
- Ensure you have everything you need : To start with, make sure you have everything you need, ready and available before you start performing the oil change. A simple checklist for an oil change would include a can of engine oil, a wrench, a new filter, a funnel, a set of socket wrenches for the drain plug, coolant, and rags and gloves to wipe out any spills.
- Warm up the engine : Run the engine for around 15 minutes and then turn it off before performing the oil change. Warm oil flows better, allowing for a more complete drain and easier filter removal.
- Ensure the motorcycle is securely parked : Park on a level surface and use a paddock stand for stability. You don’t want your bike flimsily moving about too much when you’re performing the oil change.
- Locate the drain plug and oil filter : This isn’t a very complicated step. If you’re confused, consult your bike’s user manual.
- Drain the oil : Place the drain pan directly under the plug, loosen it with the socket wrench, and allow all the oil to drain completely.
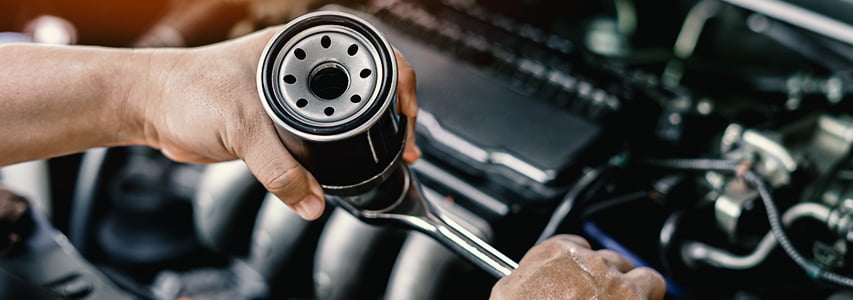
- Replace the oil filter : Use the wrench to remove the old engine oil filter, apply fresh oil to the new filter’s gasket, and screw it on hand-tight.
- Reinstall the drain plug : Inspect the crush washer and replace if worn. Tighten the plug to the torque specification in your manual.
- Refill with fresh oil : Add oil slowly through the funnel, checking the oil level gauge periodically. Refer to your manual for the exact oil capacity.
- Start the engine and check for leaks : Let the engine run for a few minutes and observe for leaks around the drain plug or filter.
- Dispose of used oil responsibly : Never pour used oil down the drain! Find a designated collection center or ask your local mechanic for proper disposal options.
Engine Oil Change Checklist for Cars
While replacing bike engine oil is noticeably easier than it is for cars, the process is quite similar for cars overall. At the end of the day, you’ll want to make sure you’re using the right engine oil. The process itself doesn’t change whether you’re using 10w40 engine oil or 20w50 engine oil. Here’s a simple checklist.
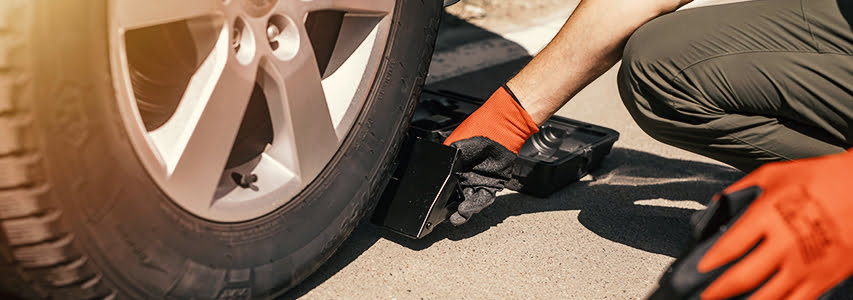
- Ensure you have everything you need : As with bikes, before you perform an oil change for your car, make sure you have everything you need readily available and accessible. This includes a canister of car engine oil, a new oil filter specific to your car model, a wrench kit, a drain pan, a funnel, a jack with jack stands, and coolant. Also keep some rags, dirty towels and gloves to clean any spills or smudges.
- Make sure the car is securely parked on a level surface : Ensure the car is stable. To do this, you must make sure the car’s parking brake is engaged and it is sitting on a stable surface.
- Chock the wheels : You can never be too safe. Place wheel chocks behind the rear wheels for added safety.
- Warm Up the engine : Warm oil flows better, allowing for a more complete drain. Start up the car and keep the engine running for around 15 minutes before doing anything else.
- Jack up the car and secure it with jack stands : Refer to your owner’s manual for the designated jack points. Carefully raise the car and secure it on jack stands at the recommended points.
- Locate the drain plug and oil filter : This is an easy step as long as you know where to look. If you don’t you can always consult your car’s user manual.
- Drain the oil : Place the drain pan directly under the plug, loosen it with the socket wrench, and allow all the oil to drain completely.
- Replace the oil filter : Use the wrench to remove the old filter, apply fresh oil to the new filter’s gasket, and screw it on hand-tight.
- Reinstall the drain plug : Inspect the crush washer and replace if worn. Tighten the plug to the torque specification in your manual.
- Lower the car : Carefully lower the car using the jack and remove the jack stands.
- Refill with fresh oil : Add oil slowly through the funnel, checking the oil level gauge periodically. Refer to your manual for the exact oil capacity.
- Start the engine and check for leaks : Let the engine run for a few minutes and observe for leaks around the drain plug or filter.
- Dispose of used oil responsibly : Never pour used oil down the drain! Find a designated collection centre or ask your local mechanic for proper disposal options.
Just having the best engine oil isn’t going to be enough. It’s a process that requires you to be careful and pay attention. At the end of the day, performing your oil change can be a rewarding experience that saves you money and allows you to gain a deeper understanding of your vehicle. By following these checklists and consulting your owner’s manual, you can ensure a smooth and successful oil change for both your motorcycle and car. Remember, proper maintenance is key to keeping your vehicle running smoothly and safely for miles to come.

Subscribe to the newsletter